How to edit industrial photos in Affinity

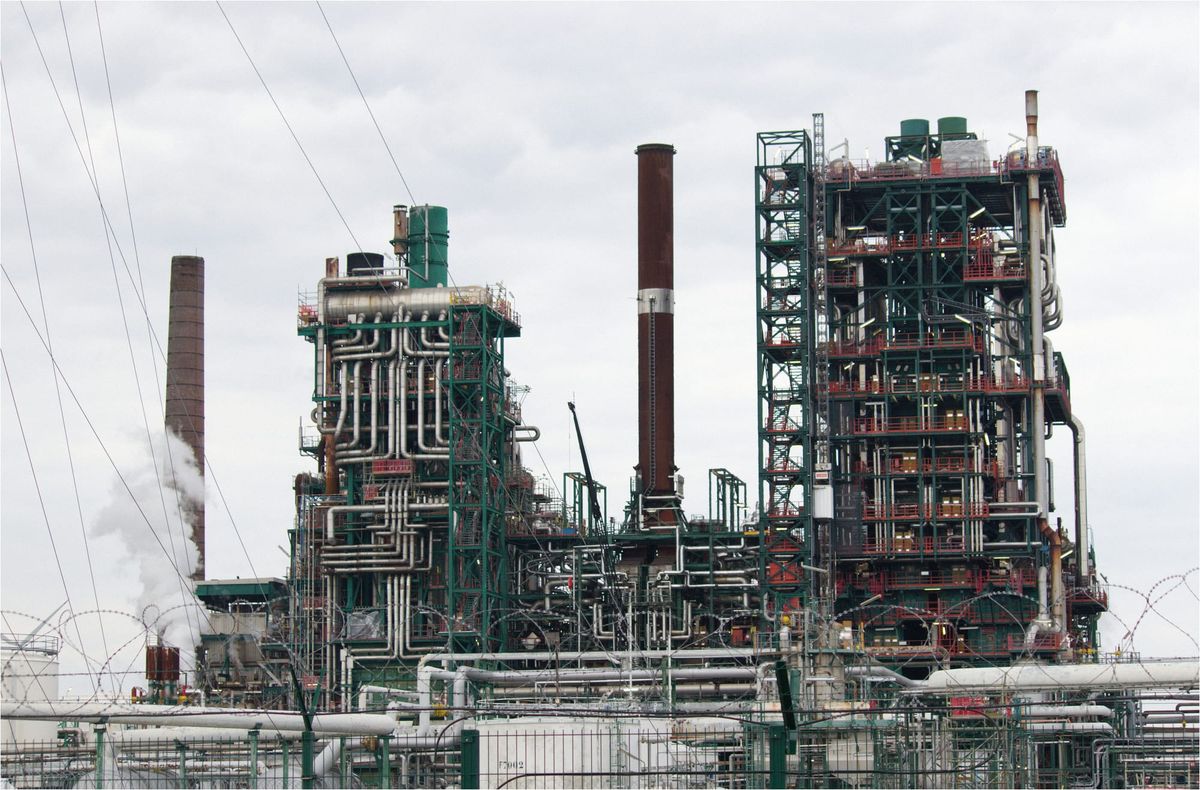
First step: put on some eff dst. Then, open your raw file. Look at the Tone Curve option, under Basic. I guess it's comparable to the JPG encoding options on your camera. I like to use Natural as a starting point, which seems to generate a more neutral image.
Then, use Exposure to align Histogram to middle. Use Contrast to enlarge histogram to sides slightly (don't clip). You don't necessarily need to look at the image itself. You can just look at the Histogram.
Now, you can look at the image. Increase Blackpoint to your liking. Then, if of interest, increase Brightness. Use Clarity and Texture if you want to destroy your image.
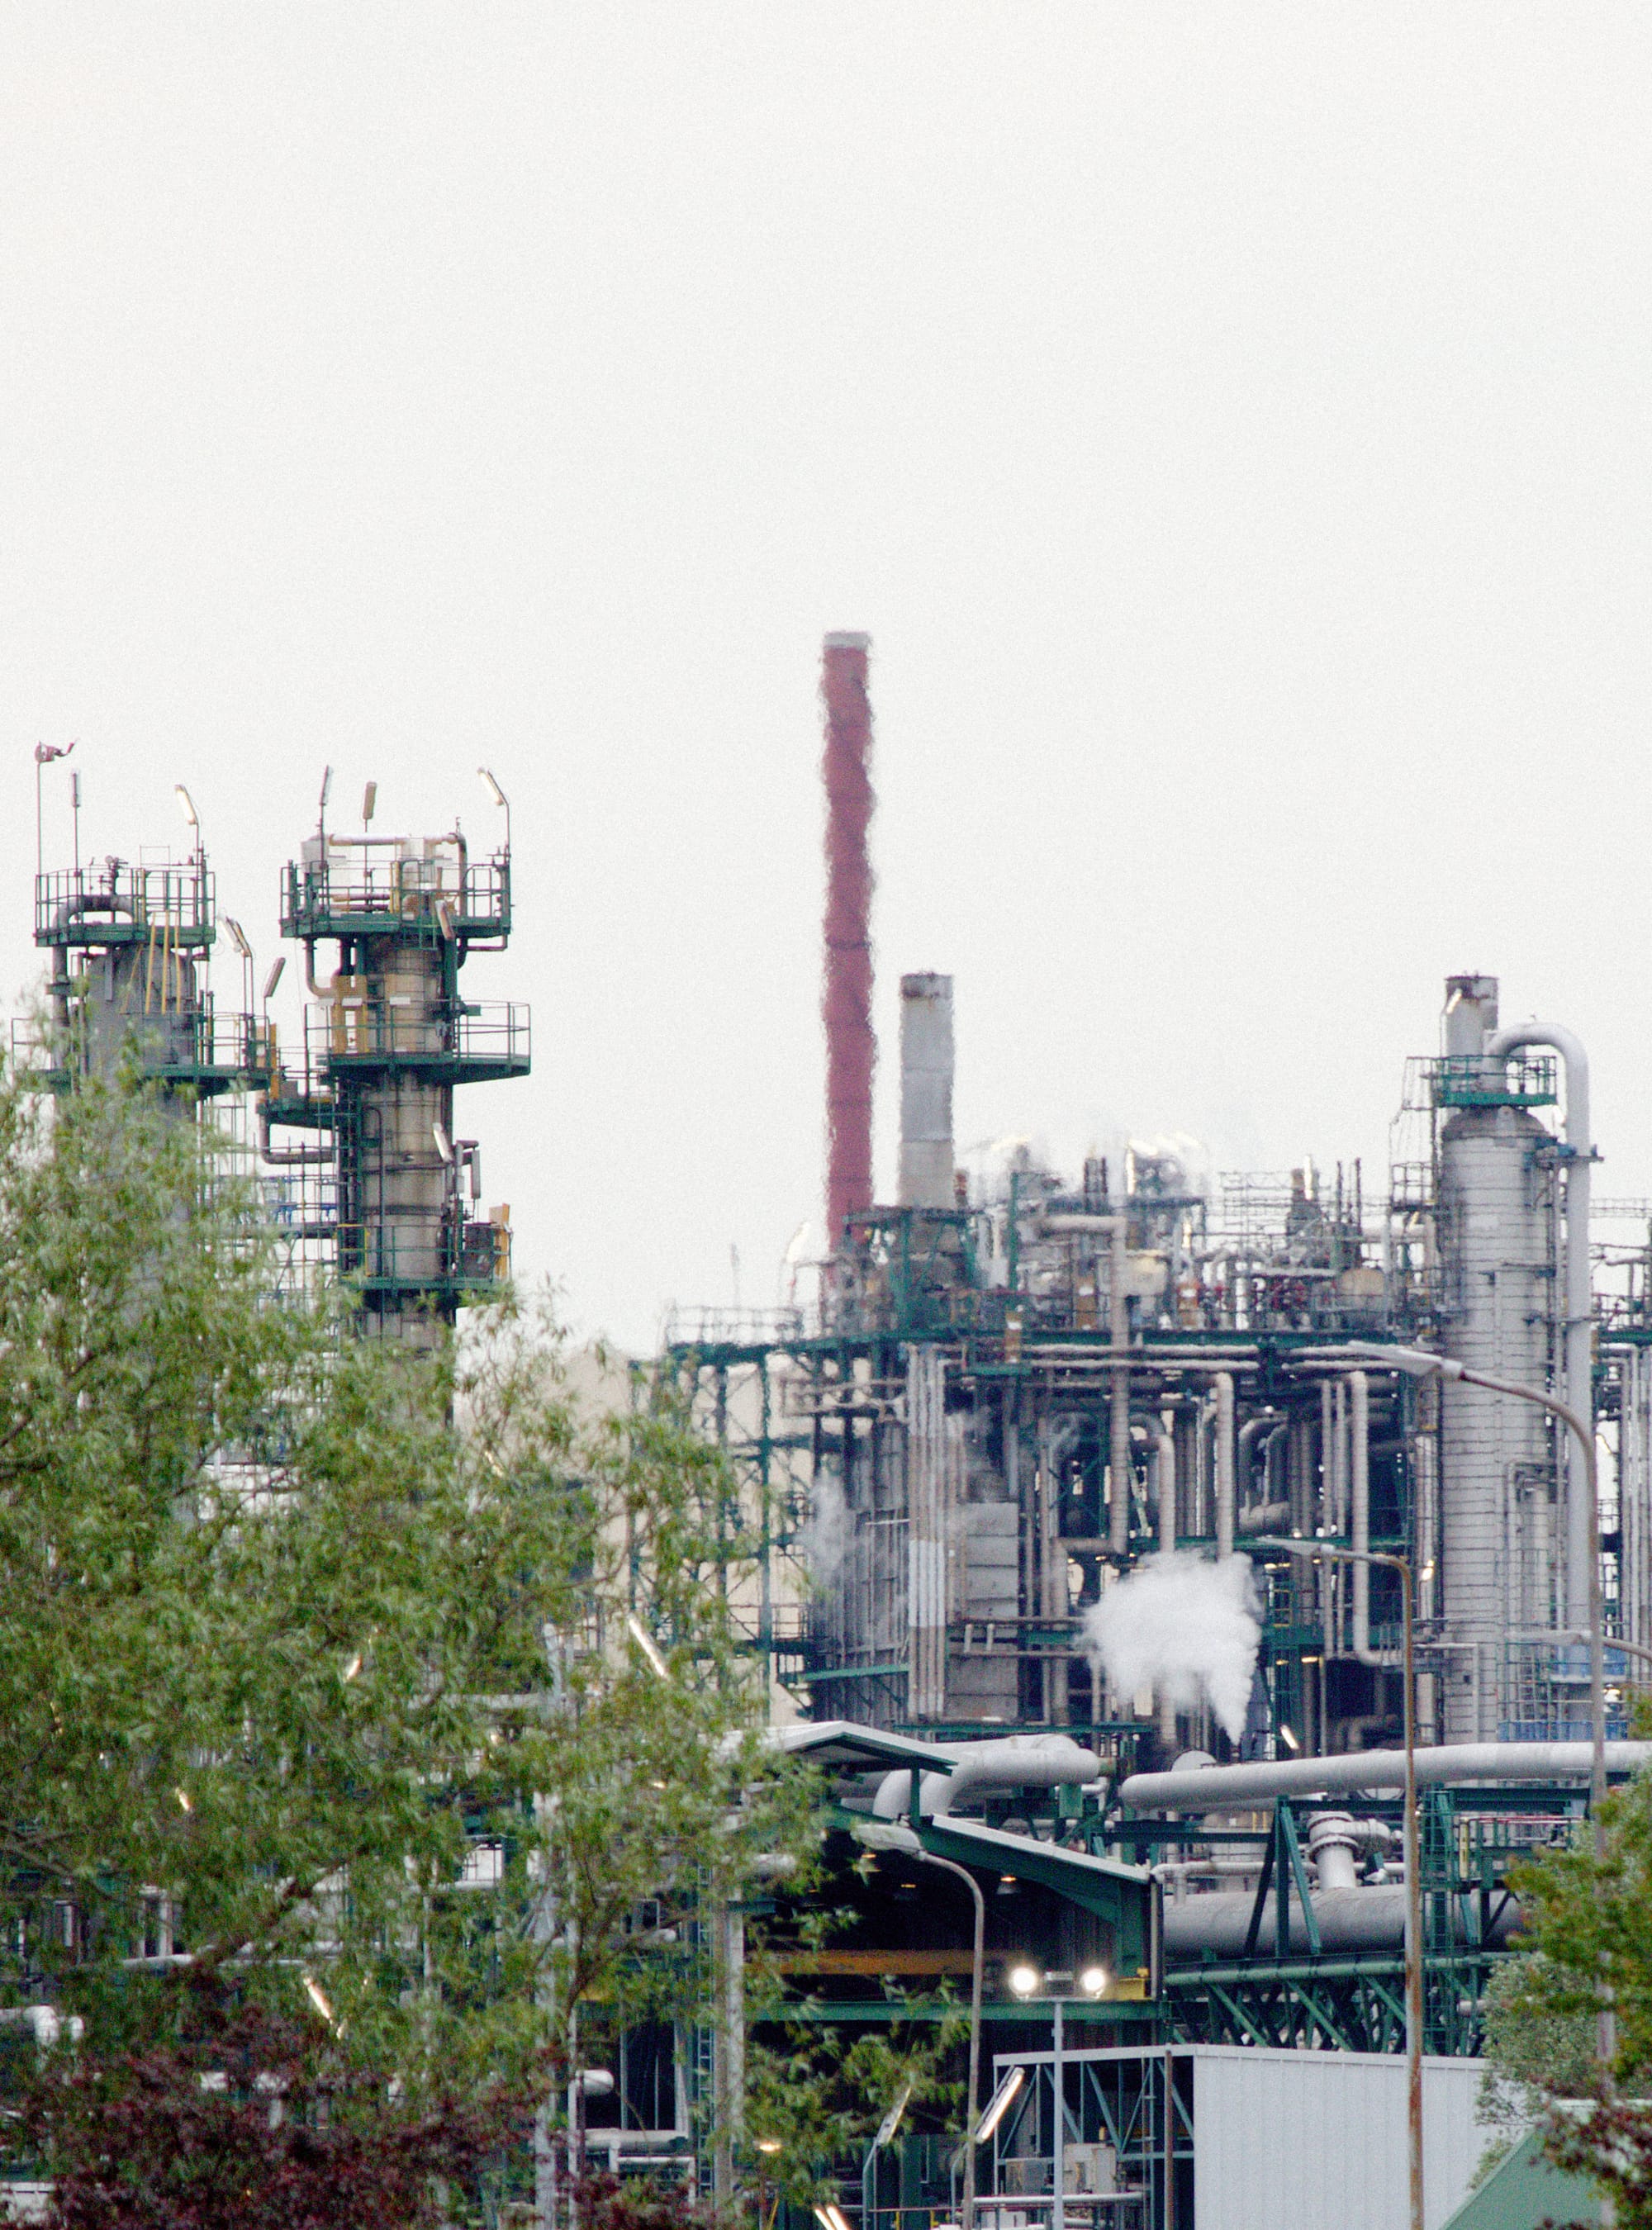
Add noise and increase sharpness rather than reduce noise. Refine Details slightly. Add Noise (10% to 20%).
At this point, I'd click Develop and crop and straighten in the general editor. The most fun is cropping for social media. Adjust aspect ratio, zoom and move. Don't overthink straightening your horizon. Lenses aren't perfect.
For Instagram, at the time of writing, I'd recommend 1080 x 1440 pixels. Include a white border and upload via your computer, as Original aspect ratio.
A long time ago, I heard black and white is useful to focus on texture. Can be a good fit for industrial. It's up to you.